Conda Quickstart Guide for Ultralytics
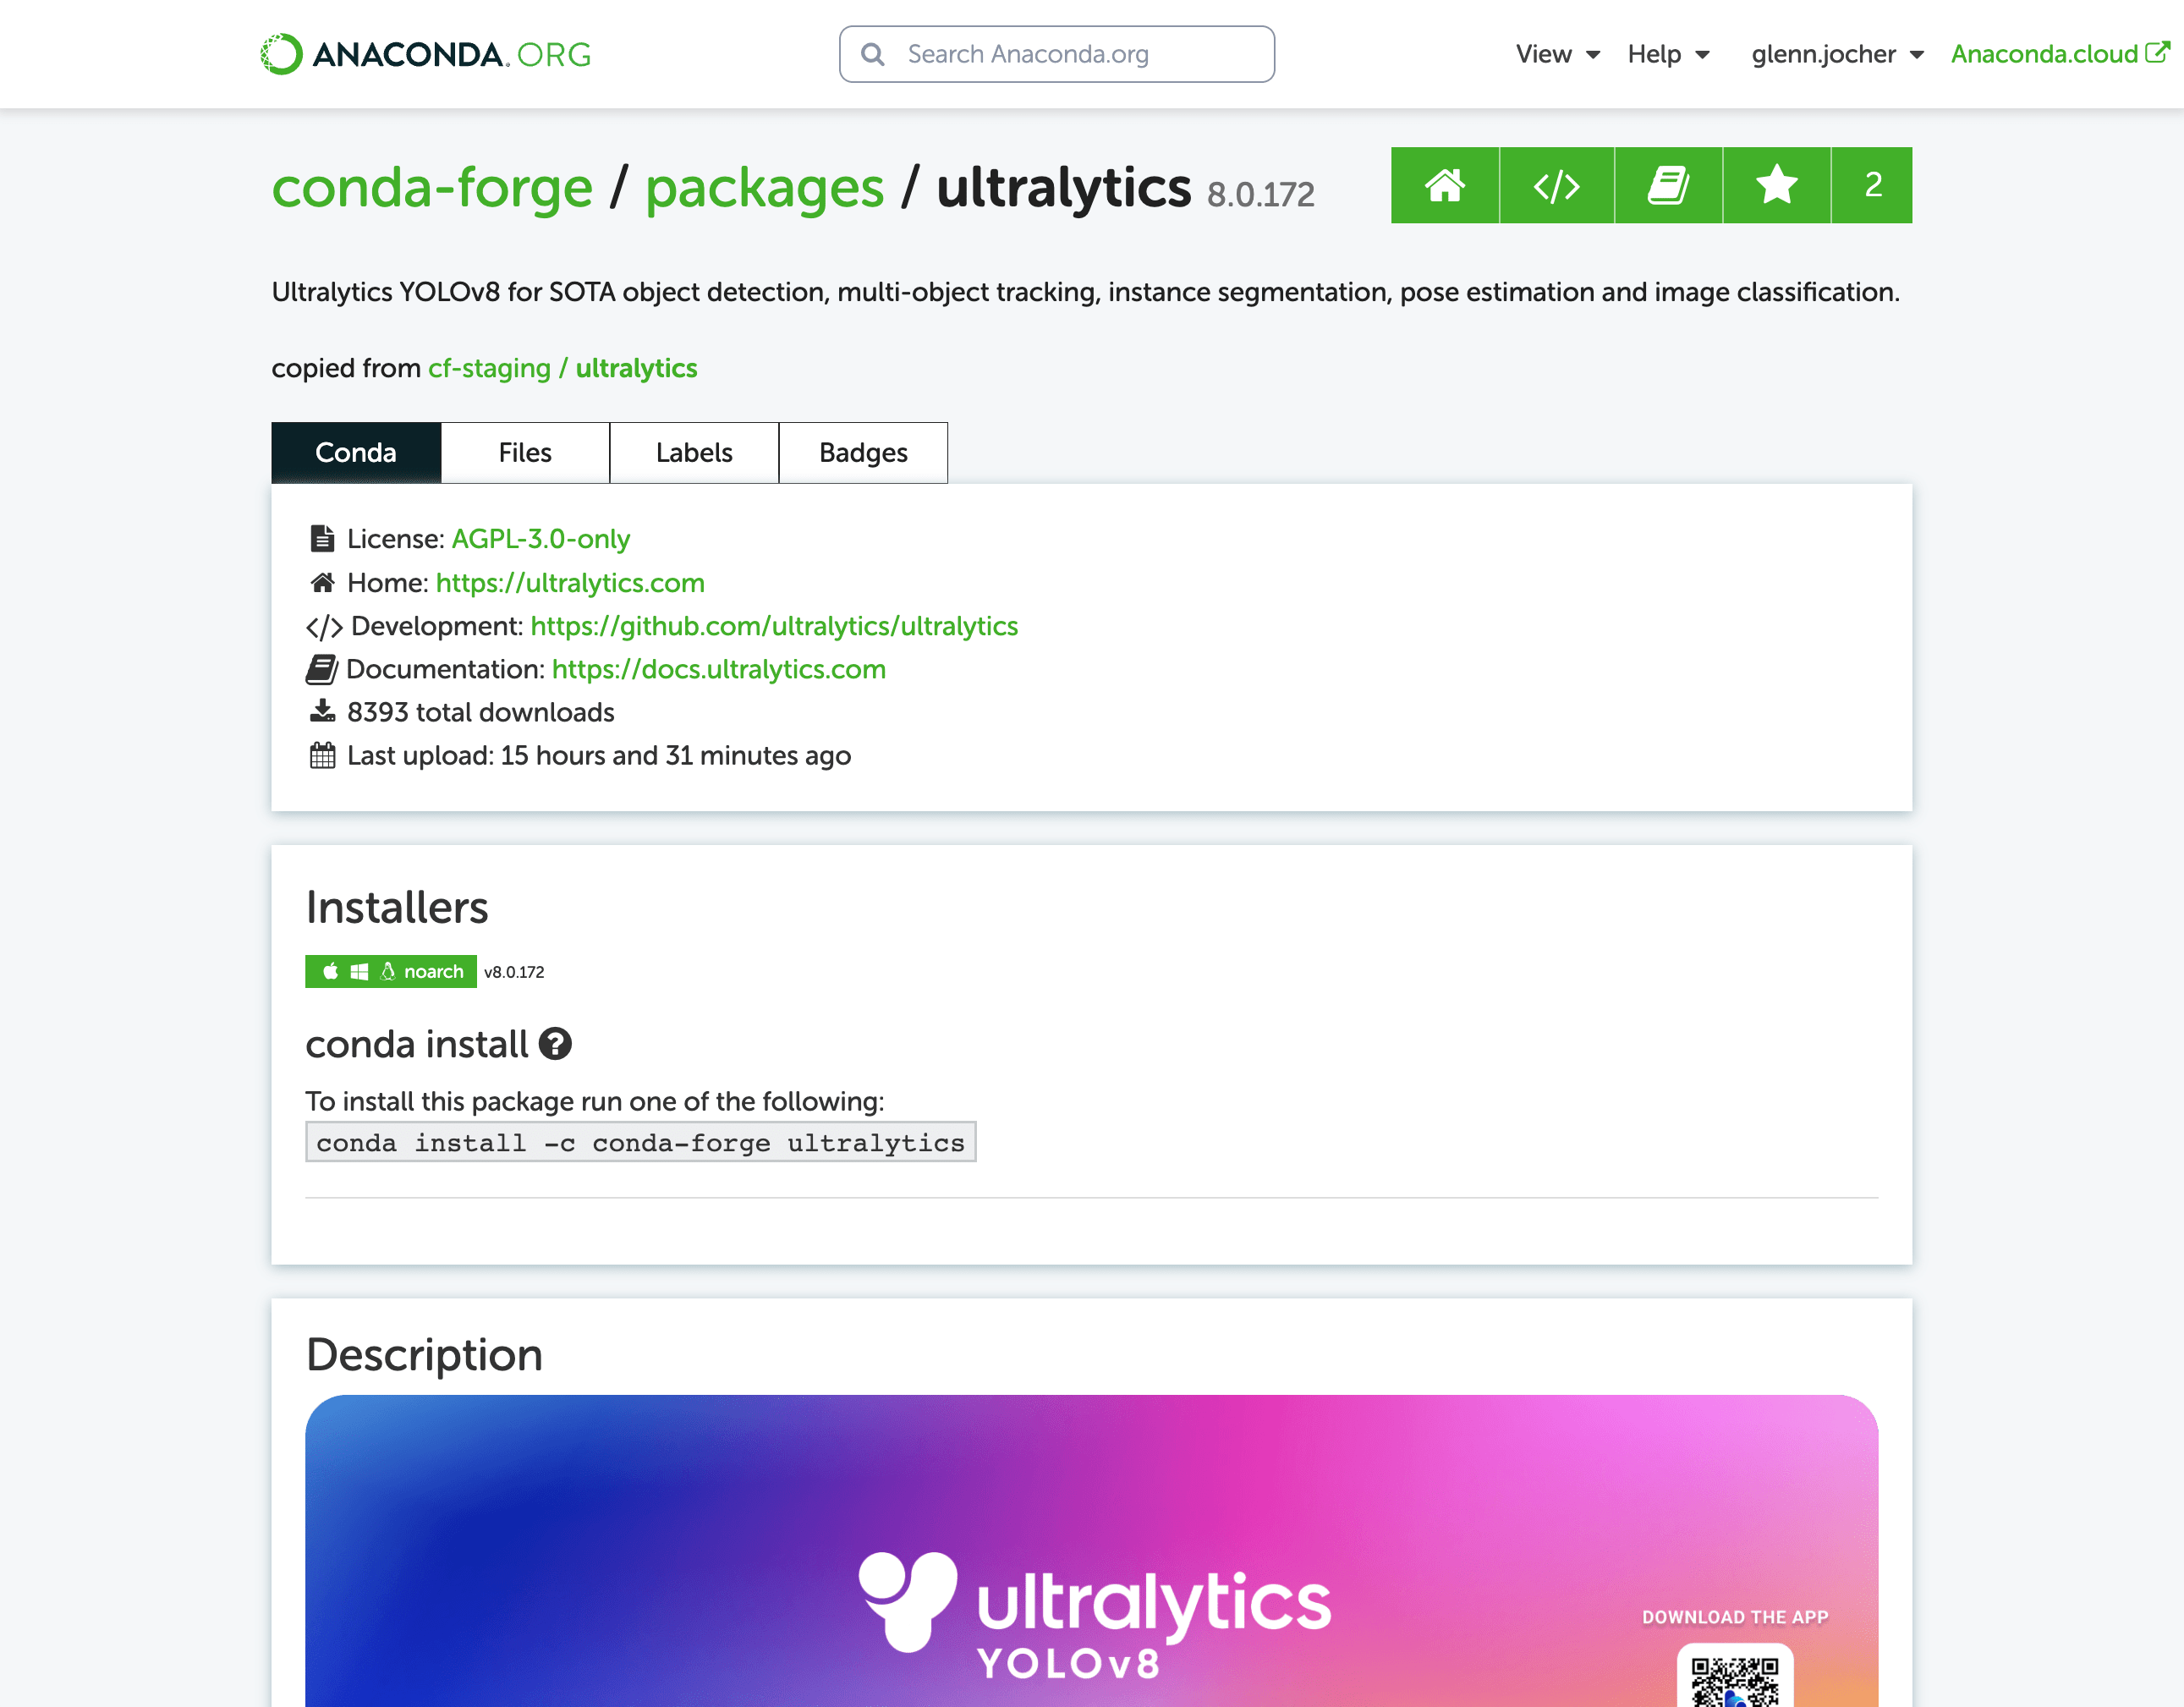
This guide provides a comprehensive introduction to setting up a Conda environment for your Ultralytics projects. Conda is an open-source package and environment management system that offers an excellent alternative to pip for installing packages and dependencies. Its isolated environments make it particularly well-suited for data science and machine learning endeavors. For more details, visit the Ultralytics Conda package on Anaconda and check out the Ultralytics feedstock repository for package updates on GitHub.
![]()


What You Will Learn
- Setting up a Conda environment
- Installing Ultralytics via Conda
- Initializing Ultralytics in your environment
- Using Ultralytics Docker images with Conda
Prerequisites
- You should have Anaconda or Miniconda installed on your system. If not, download and install it from Anaconda or Miniconda.
Setting up a Conda Environment
First, let's create a new Conda environment. Open your terminal and run the following command:
Activate the new environment:
Installing Ultralytics
You can install the Ultralytics package from the conda-forge channel. Execute the following command:
Note on CUDA Environment
If you're working in a CUDA-enabled environment, it's a good practice to install ultralytics, pytorch, and pytorch-cuda together to resolve any conflicts:
Using Ultralytics
With Ultralytics installed, you can now start using its robust features for object detection, instance segmentation, and more. For example, to predict an image, you can run:
from ultralytics import YOLO

model = YOLO('yolov8n.pt')  # initialize model
results = model('path/to/image.jpg')  # perform inference
results[0].show()  # display results for the first image
Ultralytics Conda Docker Image
If you prefer using Docker, Ultralytics offers Docker images with a Conda environment included. You can pull these images from DockerHub.
Pull the latest Ultralytics image:
# Set image name as a variable
t=ultralytics/ultralytics:latest-conda

# Pull the latest Ultralytics image from Docker Hub
sudo docker pull $t
Run the image:
# Run the Ultralytics image in a container with GPU support
sudo docker run -it --ipc=host --gpus all $t  # all GPUs
sudo docker run -it --ipc=host --gpus '"device=2,3"' $t  # specify GPUs
Certainly, you can include the following section in your Conda guide to inform users about speeding up installation using libmamba:
Speeding Up Installation with Libmamba
If you're looking to speed up the package installation process in Conda, you can opt to use libmamba, a fast, cross-platform, and dependency-aware package manager that serves as an alternative solver to Conda's default.
How to Enable Libmamba
To enable libmamba as the solver for Conda, you can perform the following steps:
-
First, install the
conda-libmamba-solverpackage. This can be skipped if your Conda version is 4.11 or above, aslibmambais included by default. -
Next, configure Conda to use
libmambaas the solver:
And that's it! Your Conda installation will now use libmamba as the solver, which should result in a faster package installation process.
Congratulations! You have successfully set up a Conda environment, installed the Ultralytics package, and are now ready to explore its rich functionalities. Feel free to dive deeper into the Ultralytics documentation for more advanced tutorials and examples.